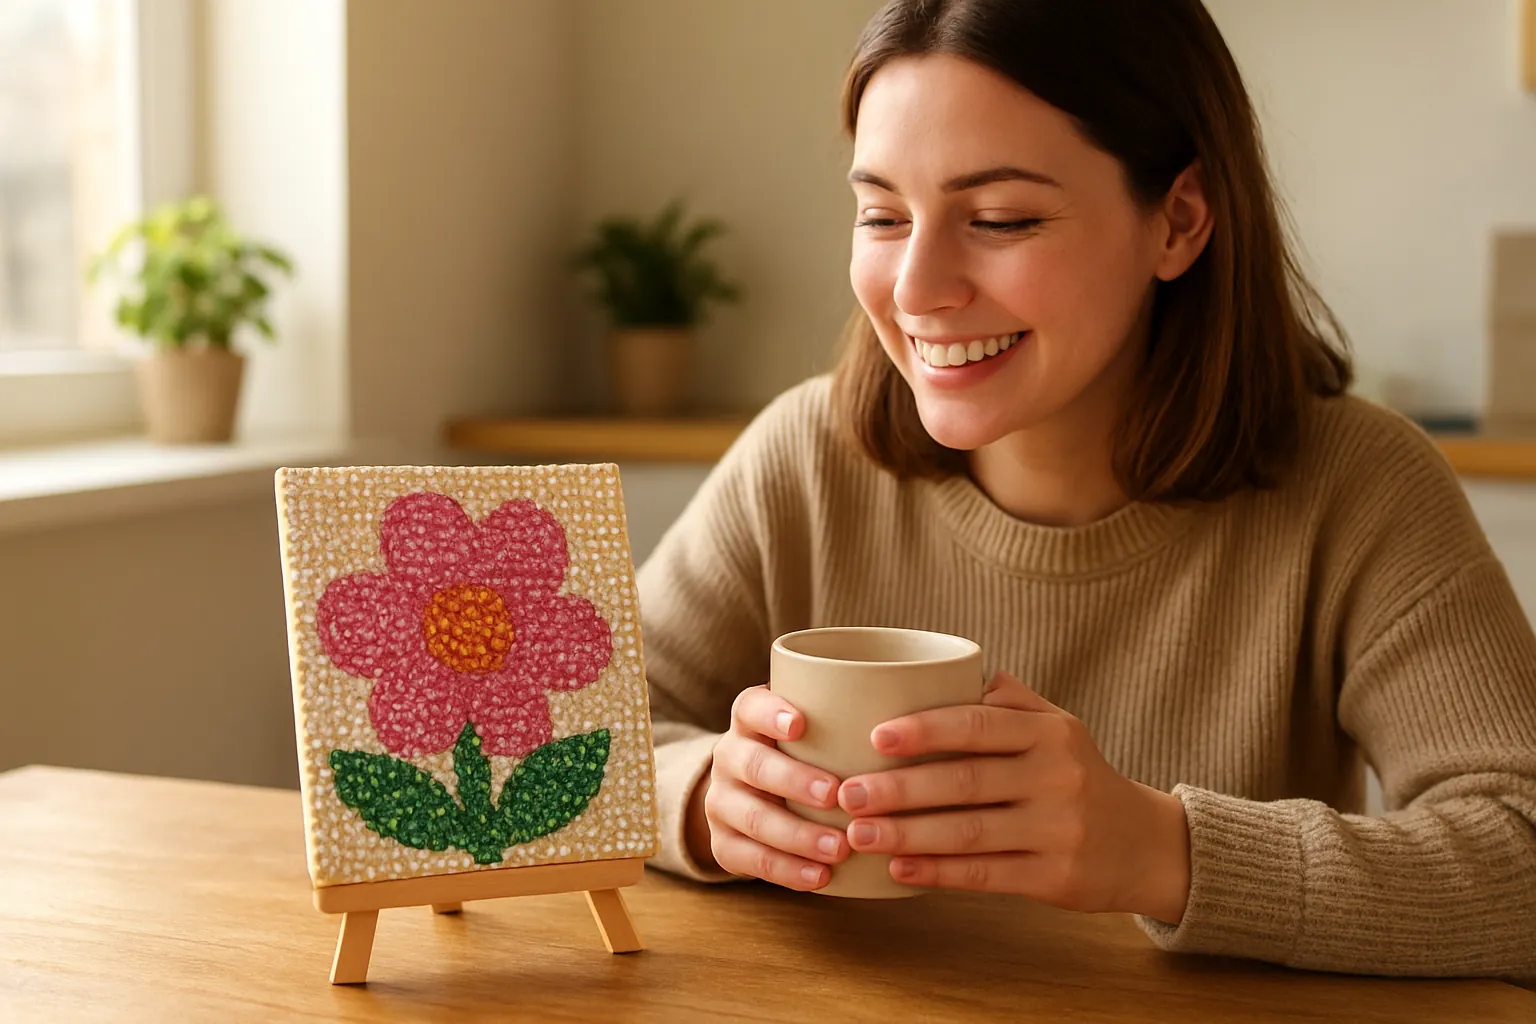
To do a diamond painting, you peel back a strip of plastic film from the sticky canvas, pick up a tiny resin drill with a waxed pen, and press it onto the symbol that matches its bag. Repeat that a few thousand times, one small section at a time, then roll the finished canvas flat. It isn't hard. You don't draw or mix anything. It takes patience and good light. Below is the whole first kit in the order you'll do it, with how long each step takes. Still choosing a kit? See the best diamond painting kits for adults.
What diamond painting is
Think paint by numbers, with gems instead of paint. The canvas is printed with a picture covered in small symbols, and the whole surface is coated in glue under a clear film. Each symbol stands for one color of drill. When every symbol is covered, the picture appears in sparkling dots. You'll also see it called diamond art, diamond dots or 5D diamond painting; our what is 5D diamond painting explainer covers the names. If you want to know what the canvas is actually made of, see our diamond painting canvas explained guide.
A "full drill" kit covers the whole canvas. A "partial drill" kit leaves parts of the printed picture bare, so it's quicker. Coming from paint by numbers? Our diamond painting vs paint by numbers comparison covers what changes.
Is it hard?
Not in the way people worry about. Nobody needs art skills. The things that do trip up beginners are practical: the canvas arrives creased, the symbols are small, and the glue goes dull if you uncover too much of it. Every one of those has a simple fix, covered in the steps below.
The real cost is time. A 12x12 inch full-drill kit holds about 9,800 round drills. At a steady 350 an hour that's around 28 hours, and a first-timer is usually slower. Diamond Dotz, one of the biggest kit makers, puts it as about an hour for a section the size of your palm. That's why a small first kit is the smart start.
What's in the kit
| Item | What it does | In most kits? |
|---|---|---|
| Canvas | Printed picture and symbols, glue under a plastic film, a symbol key along the edge | Yes |
| Drills | Tiny round or square resin gems, bagged and numbered by color | Yes |
| Pen | Picks up one drill at a time (some have multi-drill tips) | Yes |
| Wax or putty | Fills the pen tip so drills stick to it | Yes |
| Tray | Ridged dish that flips drills facet-side up | Yes |
| Small bags | For leftovers once the paper packets tear | Often |
| Tweezers | Fixing crooked or wrong drills | Sometimes |
That's enough to finish. If you add anything, add light first: a lamp you can aim, or a light pad under the canvas. The full shopping list is in our tools and accessories guide. If a piece in the bag has you puzzled, here's what each diamond painting tool is for.
How to do diamond painting: the 10 steps
1. Unbox and check the drills (10 minutes)
Unroll the canvas and find the symbol key, usually printed down one or two edges. It lists each symbol next to a drill number, and sometimes a count. Line the drill bags up against it and make sure every number is there. If one is missing, contact the seller now, not at 90% done. Our missing drills guide has what to do if a seller won't help, and our guide to reading a diamond painting chart explains each column of the key.
2. Flatten the canvas (overnight)
Canvases ship rolled or folded. Diamond Dotz suggests rolling it the opposite way for 30 seconds, or laying it flat under heavy books overnight. Creases make drills sit crooked, so this is worth the wait. If it's badly folded, see how to flatten a diamond painting canvas.
3. Set up a flat, well-lit spot (5 minutes)
A hard, flat table. Light from the side opposite your writing hand, so your hand doesn't shadow the symbols. A board under the canvas lets you move the project off the dinner table between sessions.
4. Peel back one strip of film (1 minute)
Start at a corner. Fold or cut the film back a few inches, never the whole sheet. Exposed glue collects dust and loses its grip. Right-handed painters usually work left to right and top to bottom so the hand rests on film, not on finished drills.
5. Pour one color and shake the tray (1 minute)
Pick a symbol in your strip, find its bag, and pour a small amount into the tray. A gentle side-to-side shake flips most drills facet-side up, flat side down. Don't overfill, or they won't settle.
6. Load the pen with wax (seconds)
Peel the film off both sides of the wax square and press the pen tip firmly into it so a little wax fills the tip. The waxed tip grabs a drill by its shiny faceted top.
7. Place the drills (the next few weeks)
Touch the pen to a drill, then press it flat side down onto a matching symbol. Fill every spot of that symbol in your strip, pour the color back, then do the next. One color at a time is faster than hopping around, and it makes missed spots easy to see. Square drills need lining up edge to edge; round drills are more forgiving, which is why most beginners start with them (square vs round explained).
8. Roll the finished section, then repeat (1 minute per section)
Press each finished strip with a roller or a heavy book so the drills seat into the glue. Peel the next strip and go back to step 5. When you stop for the night, cover any bare glue with the film or with release paper.
9. Check for gaps (15 minutes)
Hold the finished canvas at an angle under a light. Empty spots show as dull dots, and raised drills catch the light differently. Fill and press them now.
10. Seal if you like, then display (an evening)
Sealing is optional. Diamond Dotz says its kits don't need it, but a coat of sealer stops dust and pet hair sticking to the glue between drills, and it helps on anything that gets handled. Our sealer guide compares brush-on and spray. Then frame it (how to frame diamond art) or hang it as is. If you need to store it, Diamond Dotz recommends rolling it with the drills facing in.

A worked example: your first evening
Say you start a 12x12 inch round-drill kit after dinner and paint for 90 minutes. Ten minutes go to checking bags and setting up the lamp (the canvas flattened overnight). In the 80 minutes left, at a beginner's pace of maybe 250 drills an hour, you place around 330 drills. That's a patch roughly 2 inches by 2 inches, about 3% of the canvas.
That number surprises people, and it's the main reason first kits stall. It's normal. Pace picks up a lot once you know the routine and use a multi-placer tip on big single-color areas. Our how long does a diamond painting take page and the calculator show the math for any size.
When something goes wrong
Drills not sticking, popping off, crooked rows, the wrong color in the wrong place: these are the standard beginner snags, and they all have quick fixes. Rather than repeat them here, our diamond painting tips for beginners collects fifteen of them in order, with a problem-and-fix table. A canvas that has lost its tack has its own page: diamond painting drills not sticking.
What to buy for a first try
Start small. The 6-pack of 6x6 inch mini kits has 4.7 stars from more than 2,000 ratings, and each canvas is an evening or two, so you learn the routine and finish something fast. Ready for a wall piece after that? The 12x12 inch highland cow kit has 4.8 stars from more than 2,100 ratings and sold about 2,000 last month. More options are in our best diamond painting kits for beginners.
Three add-ons make the biggest difference, in this order:
- Light. The Ratukall A4 light pad kit lights the symbols from underneath and comes with storage boxes and a roller among the extras.
- A better pen. The benote refillable wax pen holds the wax inside the barrel and comes with a metal tool for straightening rows. For multi-drill tips, see the screw-tip pen kit with tips that pick up as many as 9 drills at once. Our pen guide compares more.
- Spare trays. A set like the ARTDOT interlocking trays lets you keep two or three colors out without mixing them.
Later, when you finish: a 5D diamond painting roller (4.8 stars, 2,740 ratings) and, if you seal, the Topwey sealer, which its maker says needs at least 2 hours to cure. ARTDOT release paper covers any glue you can't keep under the film.
Check which multi-drill tip sizes come in the pen kit on the Amazon listing
Your next step
Order a small kit, flatten it the night it arrives, and do your first strip the next evening. Once the routine clicks, the beginner tips are where the speed comes from.
Method steps follow standard kit instructions and Diamond Dotz's published how-to and FAQ (diamonddotz.com, checked October 15, 2026). Drill counts and hours are our estimates. Product details are from Amazon listings on October 15, 2026; prices change often, so links show the current price on Amazon. How we research · Affiliate disclosure