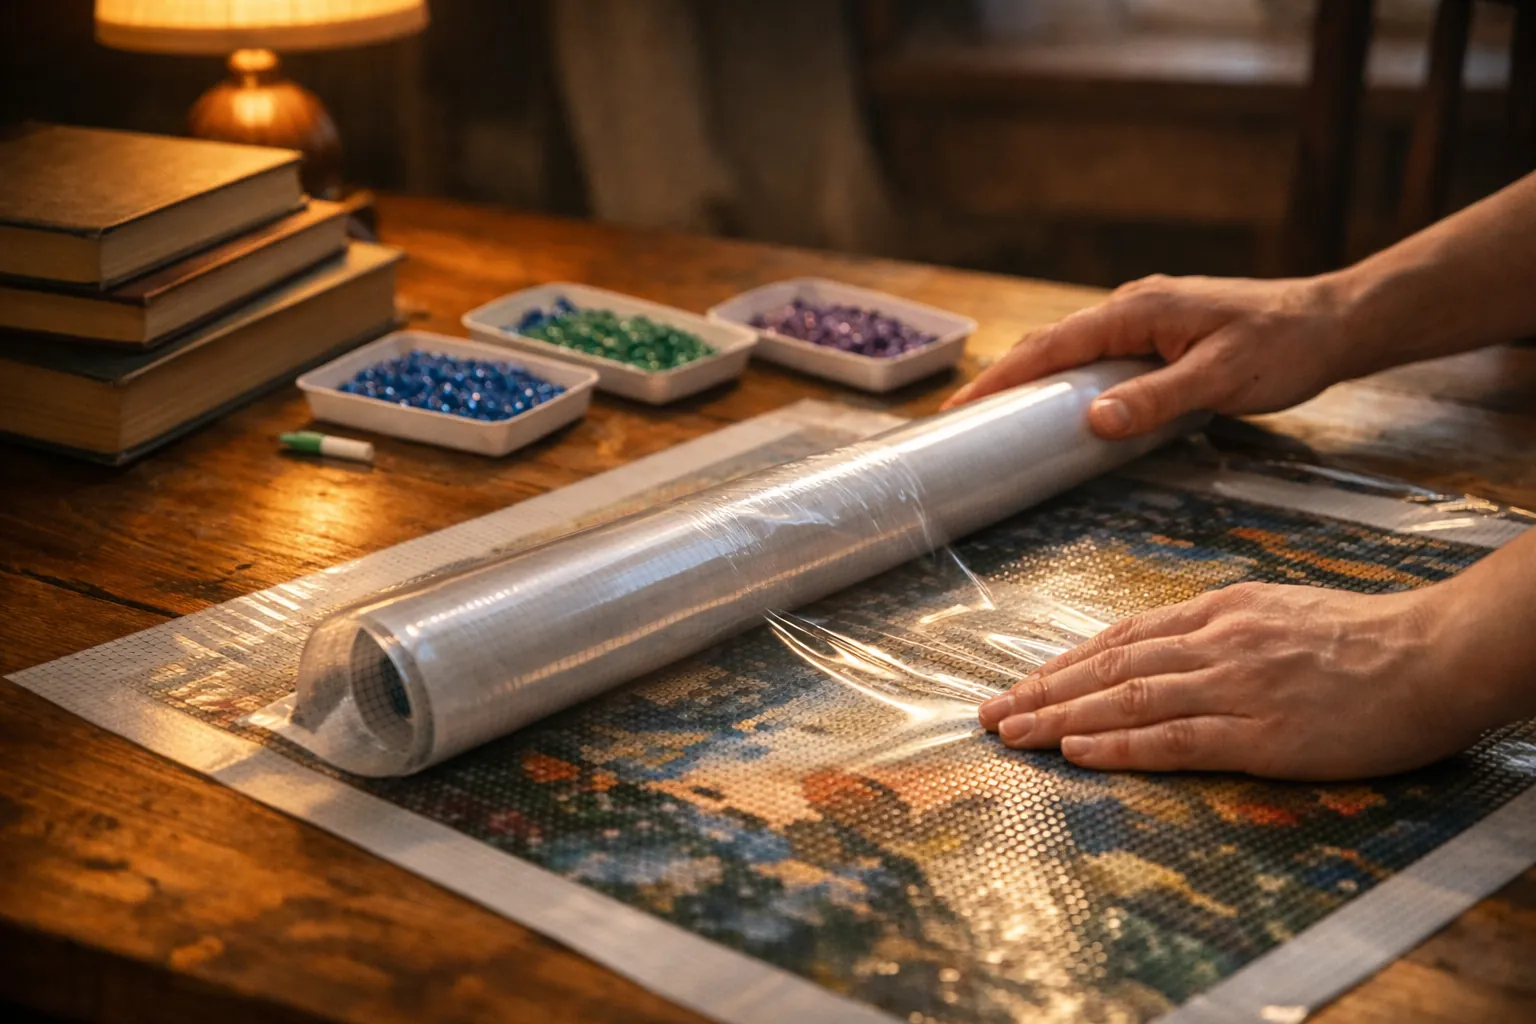
Lay the canvas face up on a hard table with the film still on, roll the wrinkle out from the middle with a craft roller, and leave it under evenly spread books for 24 to 48 hours. That fixes most new canvases. Curl needs a reverse roll first, a hard fold needs more time, and a finished canvas gets weight through a board, never straight on the drills. Heat is the last resort, and never once drills are placed.
Pick your fix: the method chooser
Most guides list five methods and leave you to guess. The right one depends on two things: what the canvas is doing (creased, curled or wavy) and how far into the kit you are. Start in the left column and only move right if the first fix fails.
| Your canvas | Do this first | If it's still not flat | Don't |
|---|---|---|---|
| New kit, curls up at the ends | Reverse roll, printed side out, for 1 to 2 hours | Flat under books overnight | Peel the film to "air it out" |
| New kit, hard fold lines | Roll the fold from the center out, then books for 1 to 2 days | Tape it to a board and paint; roll drills on the fold twice | Fold it the other way to "cancel" the crease |
| New kit, wavy or bubbled | Smooth with a roller over the film, center to edges | Books for a day | Press bubbles out with a fingernail through the film |
| Half done, edges lifting | Tape or clip the bare edges to a board or light pad | Weights on the unworked, filmed part only | Put weights on placed drills without a board between |
| Finished, wavy | Roll the drills, then board plus books for 2 to 3 days | Frame it or mount it on a backing board | Iron it, use a hair dryer, or roll it drill side in |
Times are what we'd plan for, not a manufacturer figure. Heavier canvas and colder rooms take longer.
Why canvases crease and curl
Kits ship two ways. Rolled canvases come in a tube or wrapped around the drill bags, and they curl because the canvas holds the curve. Folded canvases come flat in a box or envelope and arrive with sharp fold lines, often in a cross. Folds are the harder problem: the fold breaks the surface of the canvas and the adhesive along a line, so it relaxes but rarely disappears.
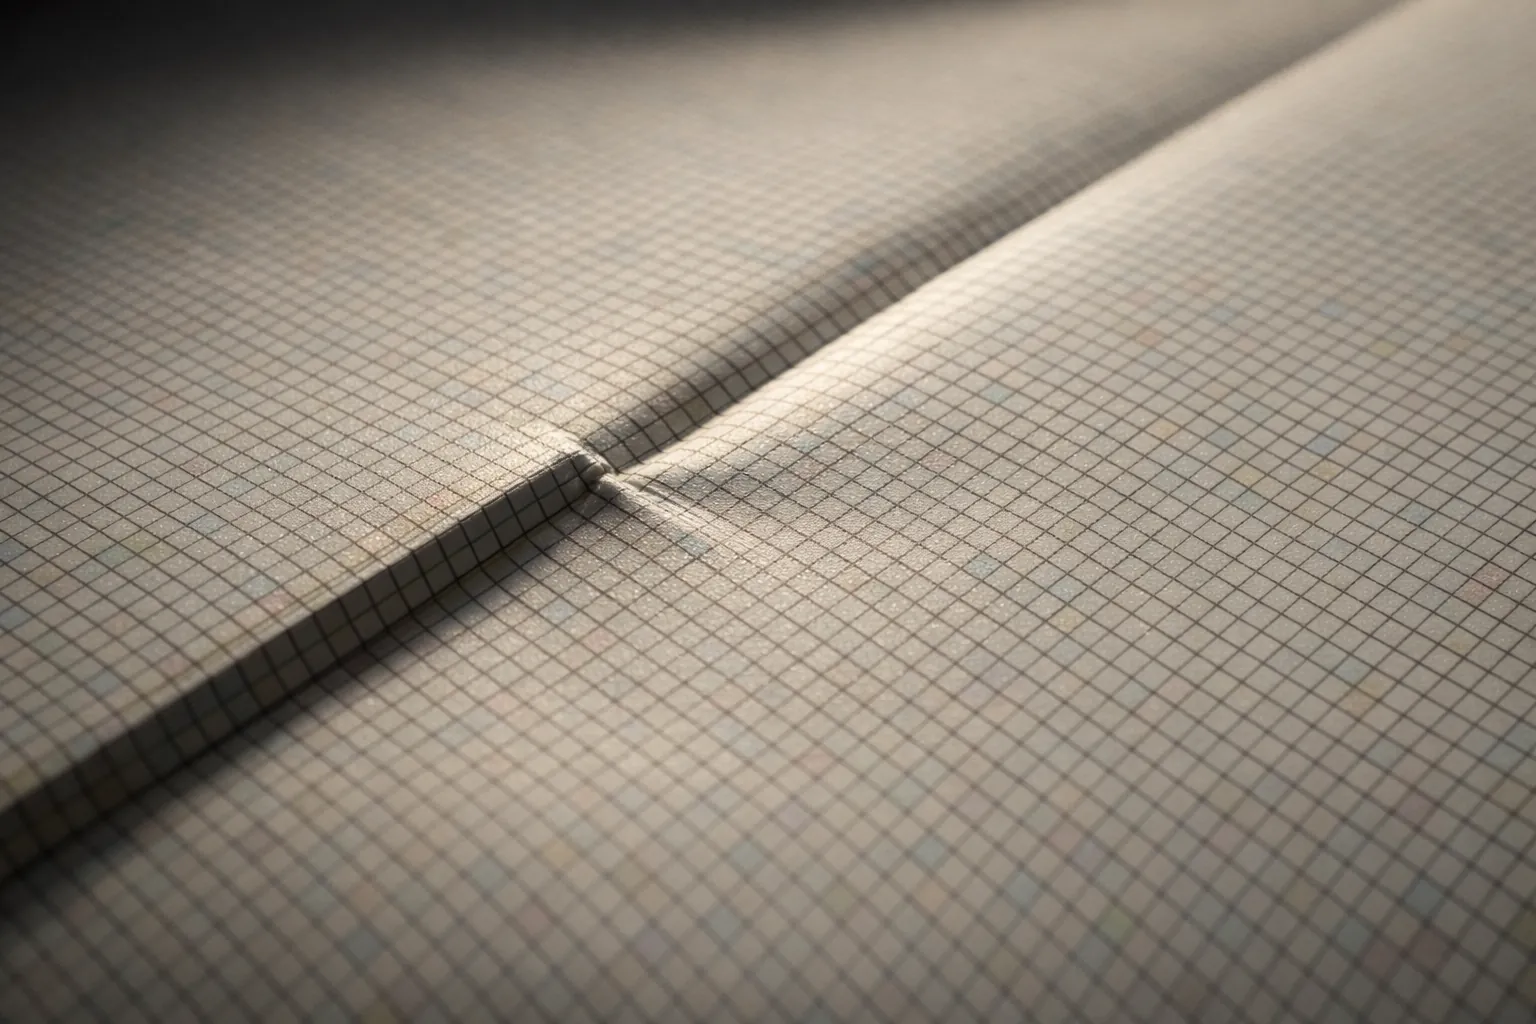
None of this ruins a kit. A slightly raised fold under the drills is invisible from a normal viewing distance once the drills are rolled flat. What causes real trouble is painting over a crease that's still lifting, because drills on a ridge sit at an angle and pop off later.
Flattening a new canvas, step by step
- Unpack it the day it arrives. Leave the film on.
- If it curls, roll it backwards, printed side out, around a cardboard tube or a rolled towel. Leave it an hour or two.
- Lay it face up on a hard, clean table. A tablecloth or carpet lets the canvas sag into the soft spots.
- Roll over the film from the center toward each edge with a diamond painting roller or a rubber brayer. This pushes out air under the film and presses the fold down.
- Spread heavy books across the whole canvas, not just the creases, so it doesn't bow around one stack. Leave it 24 hours, or 48 if it was folded.
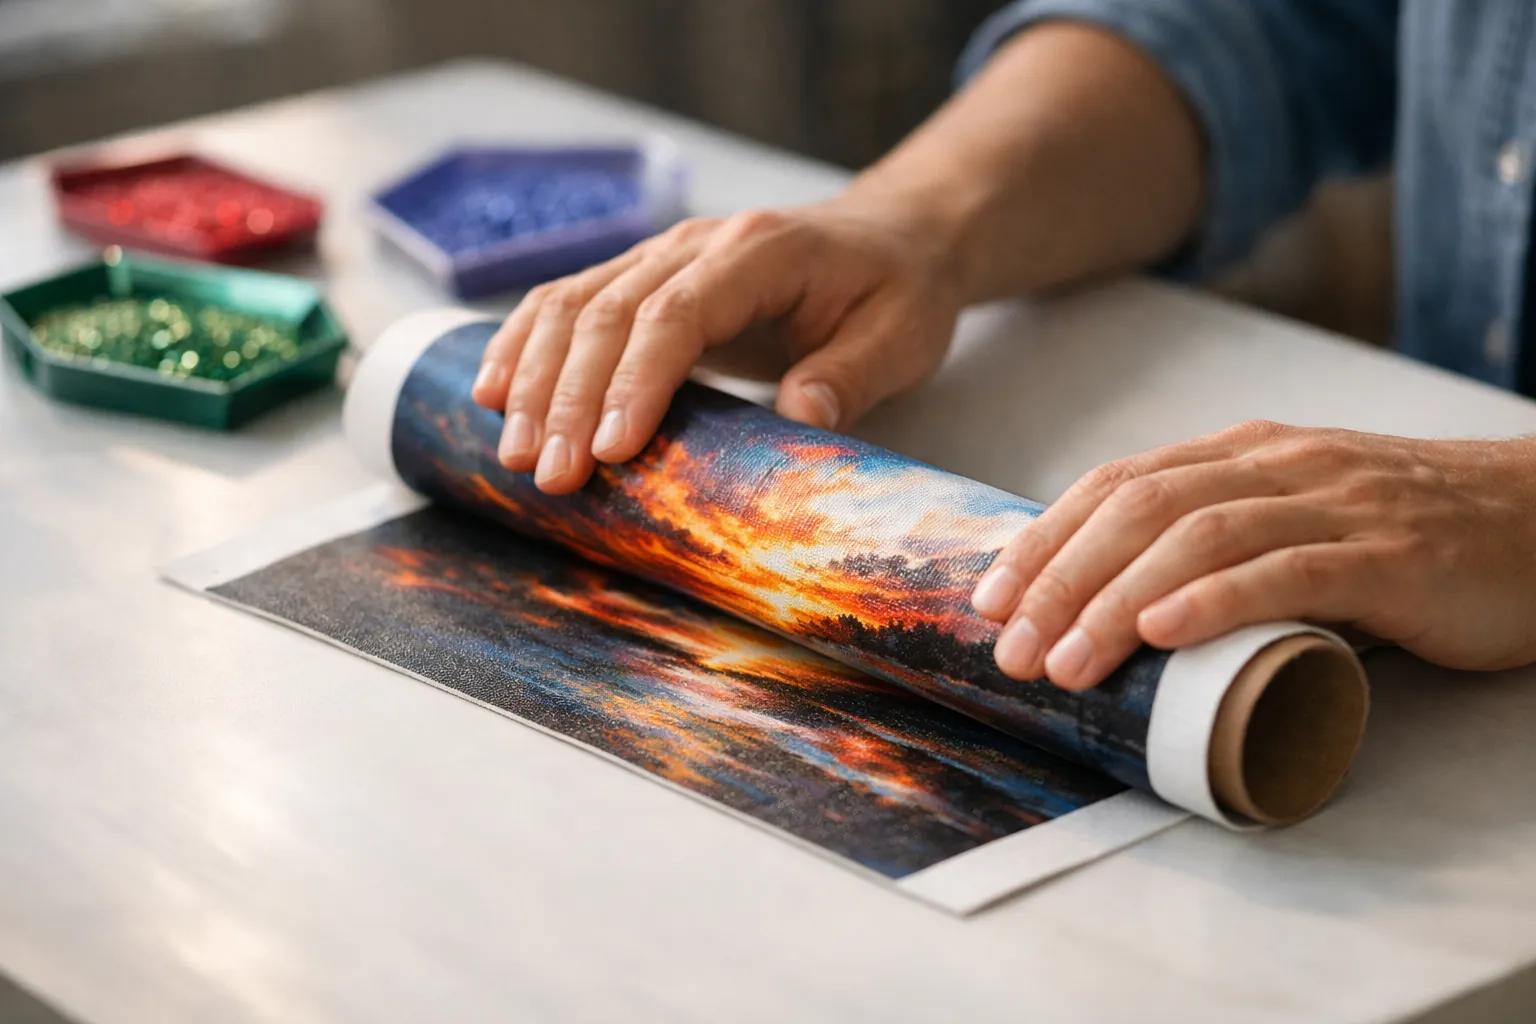
Use the same roller later for the drills. The sponake diamond painting roller has a 4.5-inch wheel, which covers a fold line in a couple of passes, and its listing notes a wheel material chosen not to dull the drills. A plain 4-inch rubber brayer does the same job on the film and has nearly 9,000 ratings.
Keeping a half-finished canvas flat
Mid-project, the problem is usually the edges lifting while you work, or a crease that's reappeared after the canvas spent a week rolled up. You can't stack books on placed drills directly, so hold the canvas down instead:
- Painter's tape or binder clips on the bare border (the unpainted margin) hold it to a board, a cutting mat or a light pad.
- Weights go on the part still under film. Leave placed drills uncovered or put a board over them first.
- Store it flat between sessions if you can. If you have to roll it, roll it with the drills facing out so they aren't crushed together.
A light pad helps here more than people expect. The canvas lies on a hard surface you can tape it to. The backlight also makes the symbols easier to read. The Ratukall A4 light pad kit comes with four clips and a roller in the box, according to its listing. For canvases bigger than the pad, our light pad guide covers A3 and A2 sizes.
If you peel the film off in sections, cover any exposed glue you're not working on with release paper. Dust on bare adhesive is the main reason a canvas that was flat stops holding drills (our drills not sticking guide has the rest of that story).
Flattening a finished diamond painting
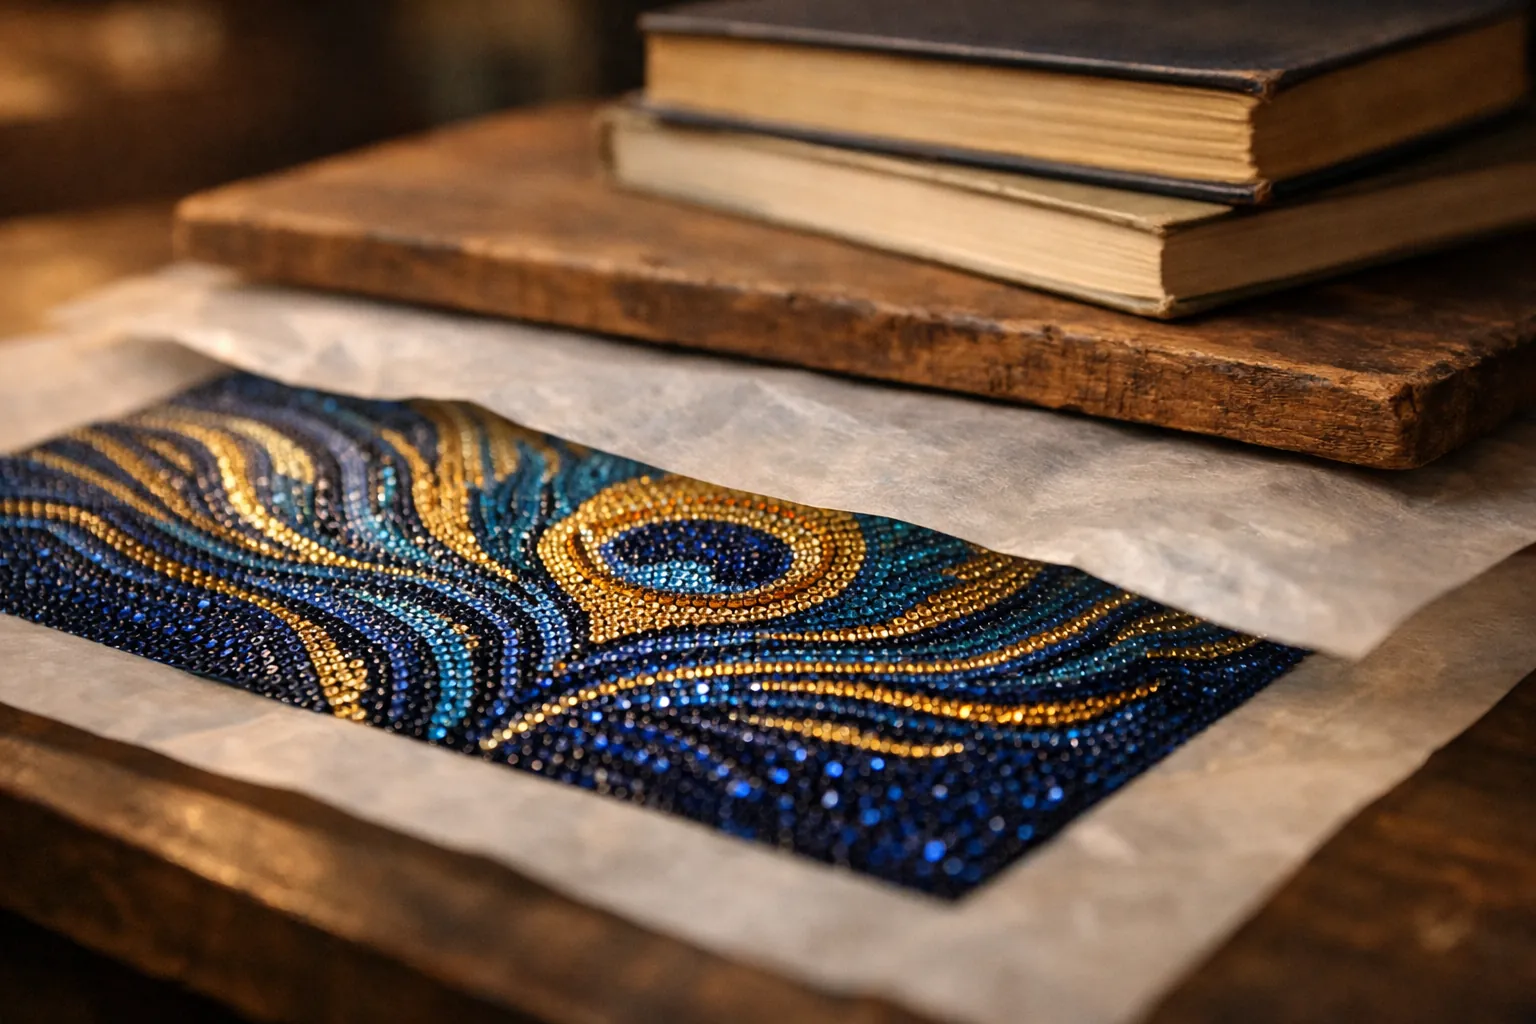
Finished canvases wave because the drills add weight and stiffness unevenly. Roll the whole piece first, in overlapping lanes, so every drill is seated. Then lay it drill side up on a hard surface, cover it with parchment or a sheet of release paper, put a flat board or a large cutting mat on top and stack books on the board. Two or three days is normal.
If it's going on a wall, the frame does the rest. A backing board and a snug frame hold it flat permanently; see how to frame diamond art, or hang it without a frame on foam board or a stretched canvas. Seal it before framing if you want the drills locked in (our sealer guide compares the options).
Heat: when not to use it
Ironing is the most repeated tip on brand blogs and the one most likely to go wrong. The clear film is plastic, the adhesive is heat-sensitive, and resin drills can soften or cloud. Our rule:
- Never with drills placed. That includes a finished canvas and a half-done one.
- Never on the front, and never with the film off.
- On a blank canvas, use weights first and give them time. If a fold still won't settle after two days, you can paint over it and roll the drills twice. That's safer than heat.
If you decide to try an iron anyway on a blank canvas, use the lowest setting from the back through a towel and test one corner. Some kits survive it and some don't, and no kit maker we checked lists a safe temperature.
What to buy for flat canvases
Three cheap things cover almost every case:
- A roller: the sponake 4.5-inch roller for the film now and the drills later. Our roller guide compares widths.
- A flat work surface you can tape to. A light pad like the Ratukall A4 kit doubles as one.
- A frame sized to the canvas when it's done, such as this 12x16 inch frame for 30x40 cm kits. Its listing notes the opening is 0.5 inch smaller than the picture so the edges are held.
Next step: if your canvas is flat but the drills still won't grab, the glue is the problem, not the wrinkles. Go to diamond painting drills not sticking. The rest of the basics are in our tips for beginners.
Product details come from each seller's Amazon listing, checked October 3, 2026. Flattening times are our planning estimates, not manufacturer claims. How we research · Affiliate disclosure