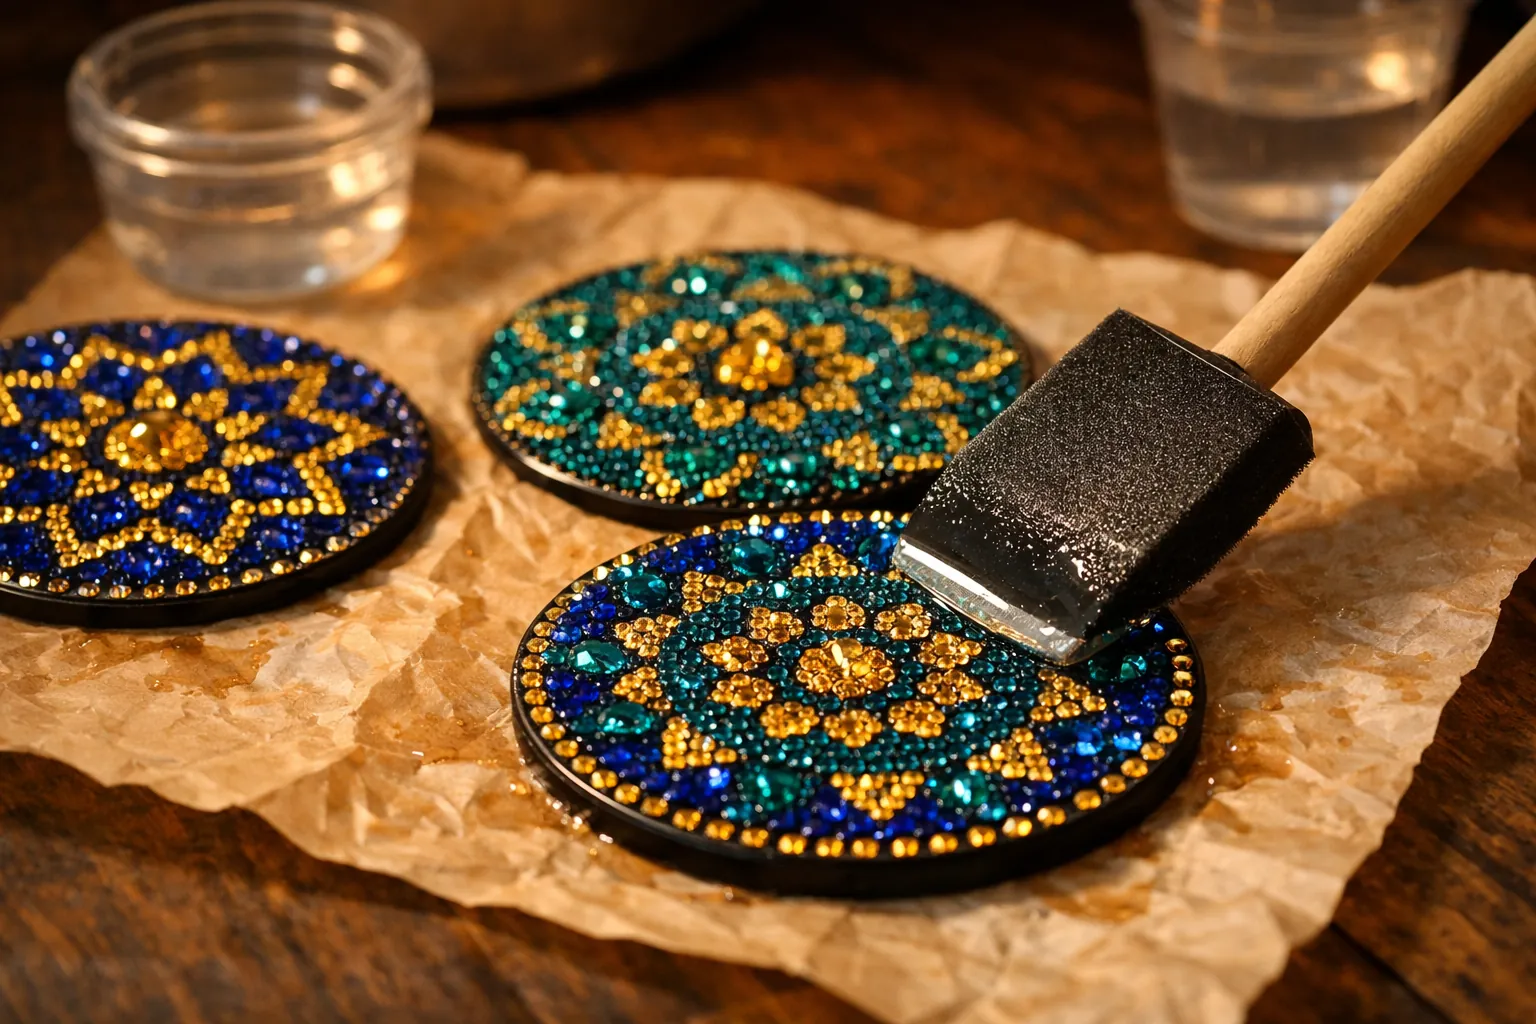
Roll the drills flat, then brush on two or three thin coats of a sealer the maker labels as water-resistant, letting each coat dry per the label, and give the finished set time to cure before the first drink. Mod Podge's Outdoor and Dishwasher Safe formulas are the two with water claims on their labels. Even sealed, a diamond art coaster is water-resistant, not waterproof: wipe it, never soak it, and keep it out of the dishwasher.
Which sealer, for how you'll use the coasters
General diamond painting sealers are made to lock drills on a canvas that hangs on a wall. Coasters get wet and get wiped, so the label matters more. Match the sealer to the job:
| How you'll use them | Sealer type | What the label says | Coats |
|---|---|---|---|
| Display or gift set, rarely used | Diamond painting sealer (PVA) | Locks drills; no water claim | 1 to 2 |
| Cold drinks now and then | Mod Podge Outdoor | "Water-resistant finish" | 2 to 3 |
| Daily use, frequent wiping | Mod Podge Dishwasher Safe | Top-rack dishwasher safe (for decoupage); dries hard and glossy | 2 to 3 |
| Large set, even gloss coat | Mod Podge spray acrylic sealer | Clear, glossy, non-yellowing; respirator advised | 2 to 3 light passes |
Label claims are quoted from each product's Amazon listing, checked October 3, 2026. "Dishwasher safe" describes the sealer on decoupage; we still don't put drill coasters in a dishwasher.
Why a regular diamond painting sealer isn't enough
Most diamond painting sealers are PVA glue, the same family as white craft glue. The LANBEIDE sealer is typical: its listing says it's PVA, goes on white and dries clear, and needs at least 2 hours to cure. It holds drills well. But it makes no claim about water resistance, and PVA can soften again when it stays wet. Fine for a display set; we'd pick a water-resistant formula for coasters that see drinks.
How to seal coasters, step by step
- Finish all the coasters first and check for gaps and crooked drills. Fix those now; sealer locks mistakes in.
- Press every drill down with a diamond painting roller, or press with a flat book if the coaster is small.
- Dust them. A soft dry brush gets lint out of the gaps.
- Lay them on parchment or a silicone mat, not newspaper, which sticks.
- Brush on a thin coat with a soft brush or foam brush, working across the drills and out to the rim. Don't flood the gaps.
- Let it dry fully per the label, then add the next coat. Two or three thin coats beat one thick one.
- Seal the rim where the drills meet the acrylic. That seam is where water gets in first.
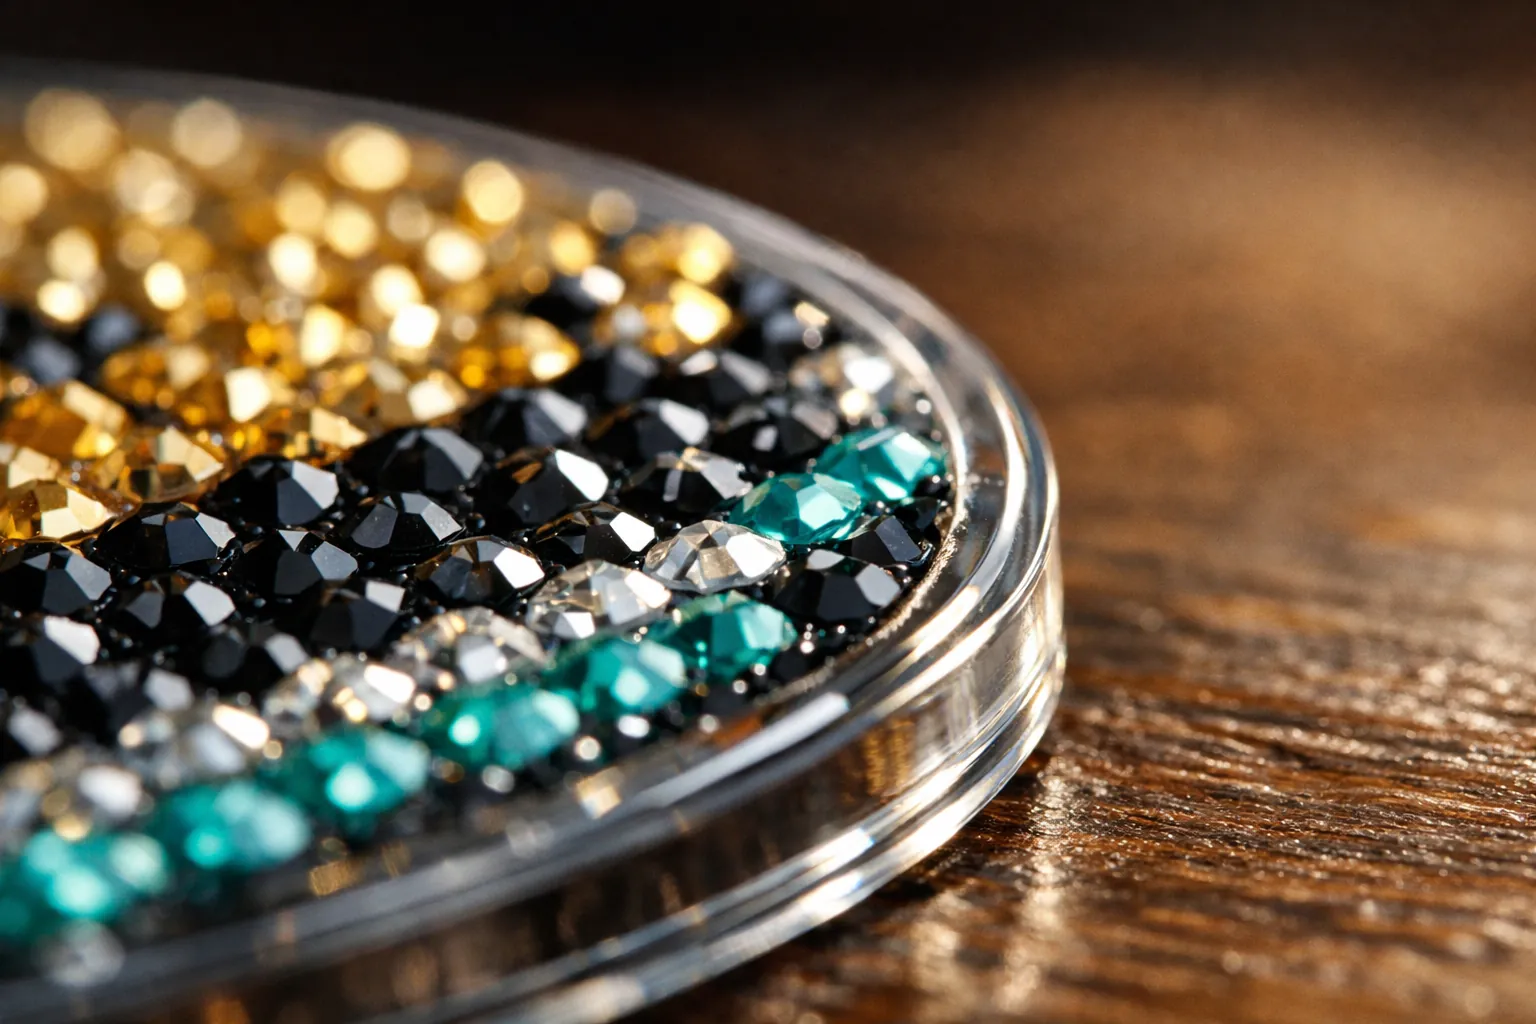
For the spray, work outdoors or somewhere with strong airflow. The Mod Podge spray listing advises a fitted NIOSH/MSHA-approved respirator and safety eyewear during and after application, and it carries a California Prop 65 warning for methyl isobutyl ketone. Hold the can at the distance on the label and build up light passes.
Drying and curing before first use
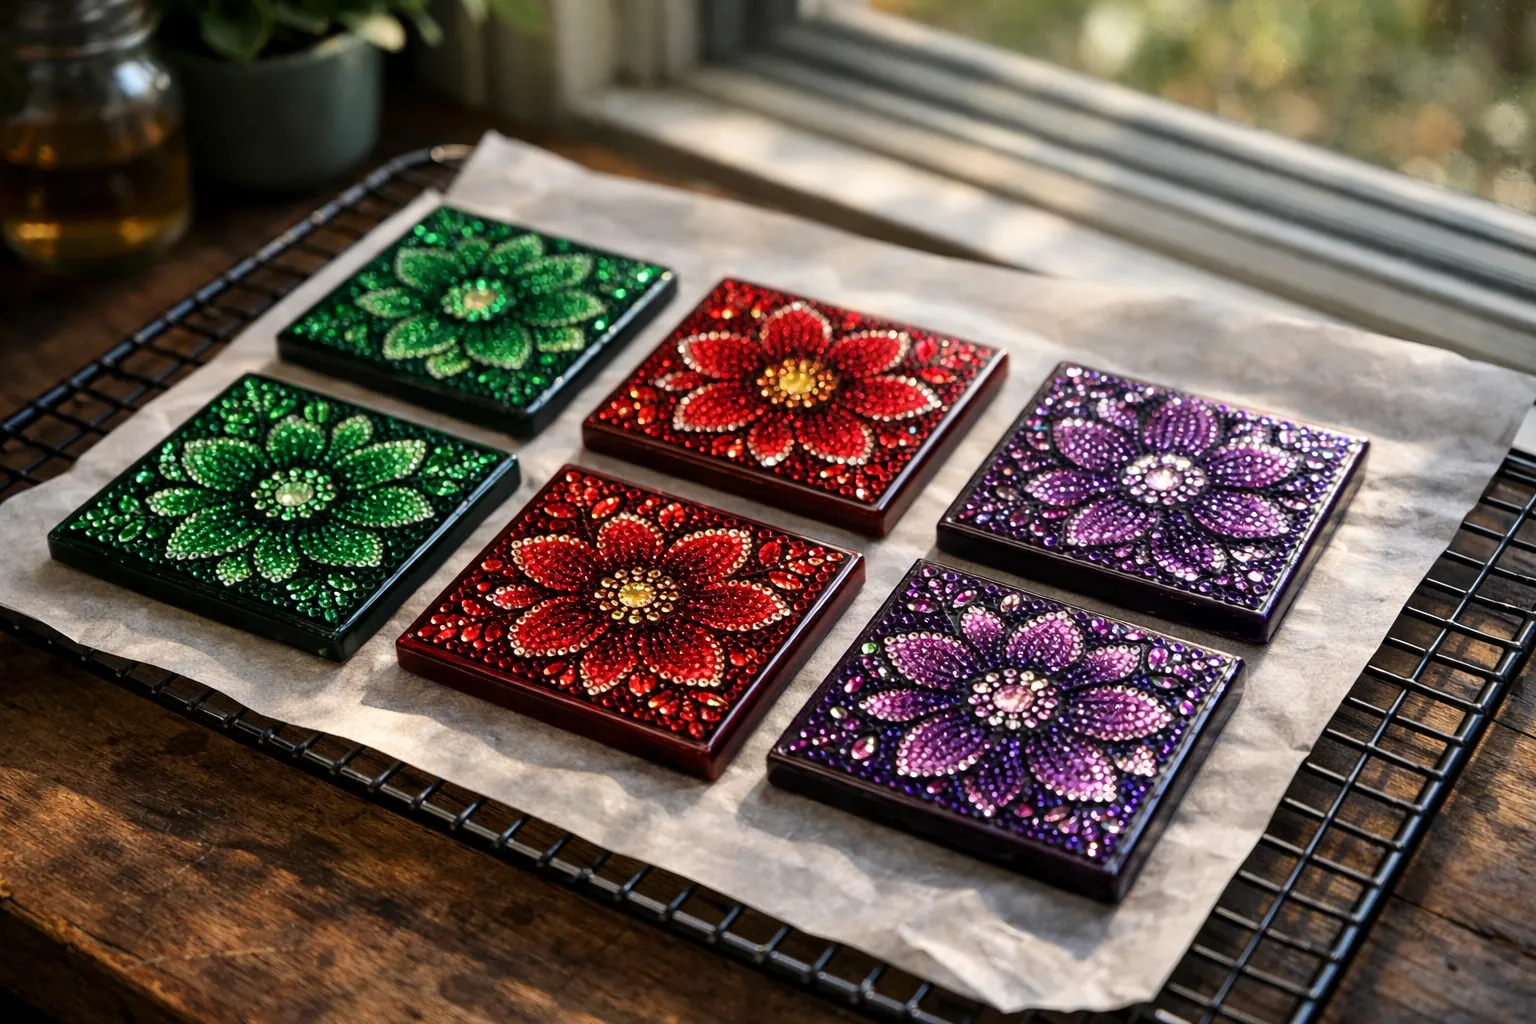
A sealer that feels dry in an hour is still curing underneath. Neither Mod Podge listing we checked gives a cure time before the first wet use, so read the bottle's label and follow it. If it gives none, leave the set unused for several days in a warm, dry room. Cloudiness that hasn't cleared usually means the coat was thick or the room was cold, and it needs more time.
What not to do with sealed coasters
- No dishwasher. None of the coaster kit listings we checked calls the coasters dishwasher safe, and sealer is the only thing protecting the drills' edges.
- No soaking. Wipe with a damp cloth and dry.
- Easy on hot mugs. Craft sealers can soften with heat, and no coaster kit listing we found gives a heat rating. Use them mainly for cold or room-temperature drinks.
- No heat to speed drying. Hair dryers and ovens can cloud the coat or loosen drills.
- Don't call them food safe. The coasters don't touch food, but nothing in these listings rates the sealer for food contact either.
Some crafters cover coaster tops with a thin pour of epoxy resin for a fully sealed surface. That's a bigger job with its own safety label and mixing ratios; follow the resin maker's instructions if you go that way.
Fixing a coaster that's already losing drills
Unsealed coasters that have been in use for a while usually shed from the rim inward. Don't seal over the gaps, because sealer won't hold a loose drill in an empty cell. Let the coaster dry out completely for a day first. Then pick out any drill that wobbles, put a tiny dot of precision craft glue in each empty cell (our drills not sticking guide covers B7000-type glue and its cure time), and press in a replacement from your spares. Once the glue has cured per its label, roll the coaster and seal it as above. If you don't have spares in the right color, our missing drills guide explains how to find the DMC code and order a single-color pack.
Coaster kits that are worth sealing

Two well-reviewed sets with the features that help in daily use:
- UPINS ocean coaster kit, 8 pieces: acrylic coasters with natural cork pads and a holder, per the listing. Cork underneath protects the table. It has 3,000+ ratings.
- Vcekract cat coaster kit, 6 pieces: thickened acrylic with foam bases and a holder, 4.7 stars from 1,700+ ratings.
Our diamond painting coasters guide compares more sets by piece count and backing.
What to buy
- Water-resistant sealer: Mod Podge Outdoor or Mod Podge Dishwasher Safe
- A roller to seat the drills: sponake 4.5-inch
- A coaster set to seal: UPINS 8-piece with cork
For sealing canvases rather than coasters, see our diamond painting sealer guide.
Sealer claims and warnings come from each product's Amazon listing, checked October 3, 2026. Always follow the label on the bottle or can. How we research · Affiliate disclosure